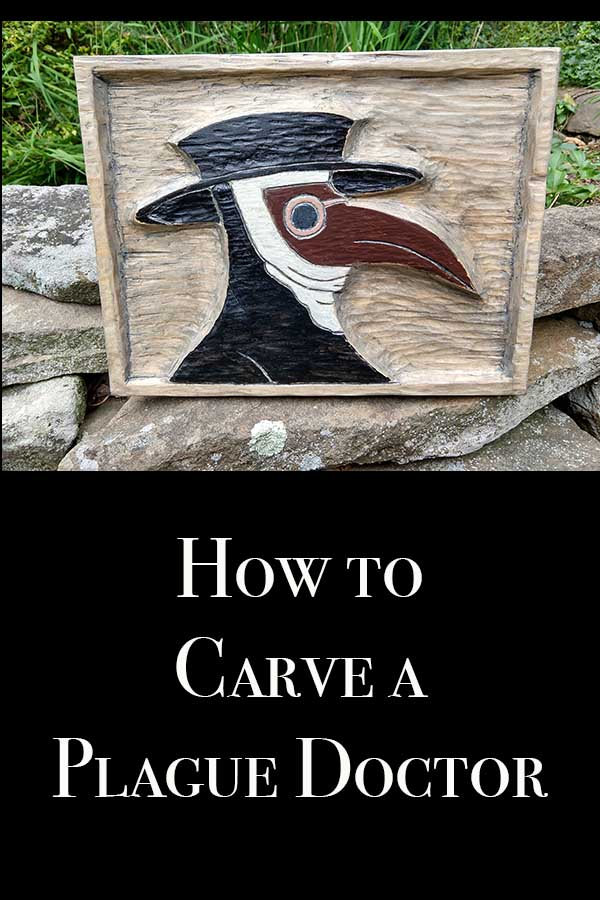
I carved three plague doctors before sitting down to make this one. It’s different from the others because I took the time to paint it instead of only using wood stain.
Wood
For the wood, I used a yellow pine. I bought a 10-inch wide, 6 foot long board of wood and had it cut into 1 foot lengths.
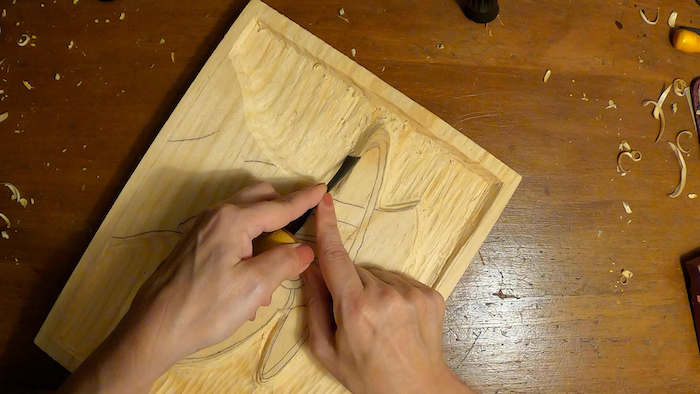
Step 1 Outline
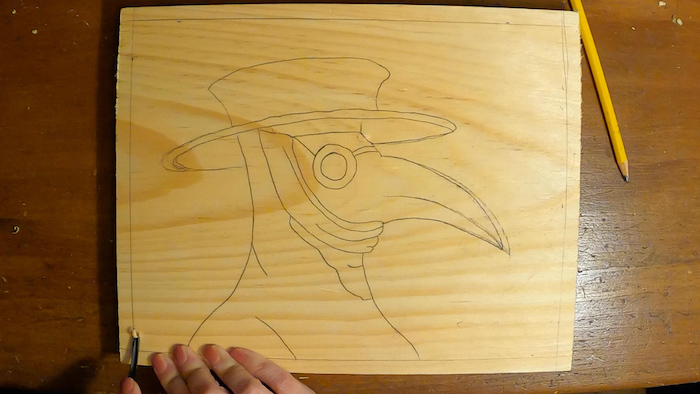
The first step was to get an outline of the plague doctor’s head onto the wood. I used carbon paper for this step and the image I used was a public domain plague doctor image with the body cropped off.
As a side not, I consider outlines to be mere suggestions and I tend to change the images as I am working on my woodcarvings.
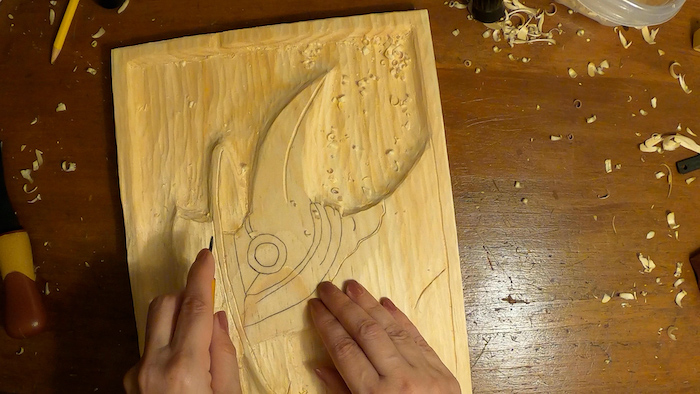
Step 2 Carve Out Background
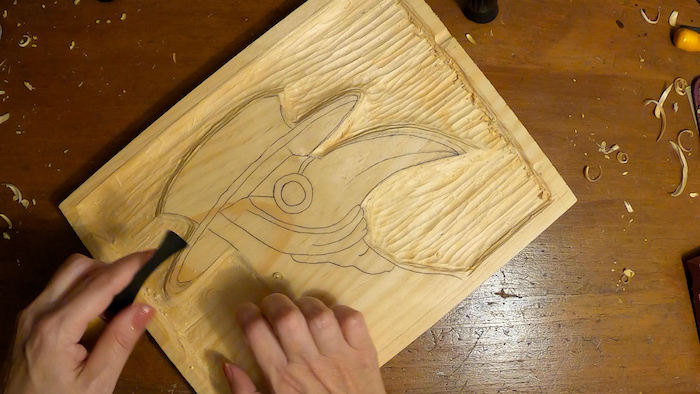
Next I begin carving out the background. I carve around my outlines and remove 2 to 3 layers of wood from the background, depending on how deep I want it to be.
Carving Tools
Cheap, dull carving tools are a misery to carve with. I use the following tools (linked to Amazon so you can read the reviews for yourself):
For most of my carving I use FlexCut Carving Tools.
For finer detail I use Meeden Wood Carving Tools.
I keep my tools sharp with the FlexCut Slipstrop.
Step 3 Clean Up Edges and Background
After the background is carved out, I like to clean it up and smooth up the edges. This is where I start shaping the subject of my carving.
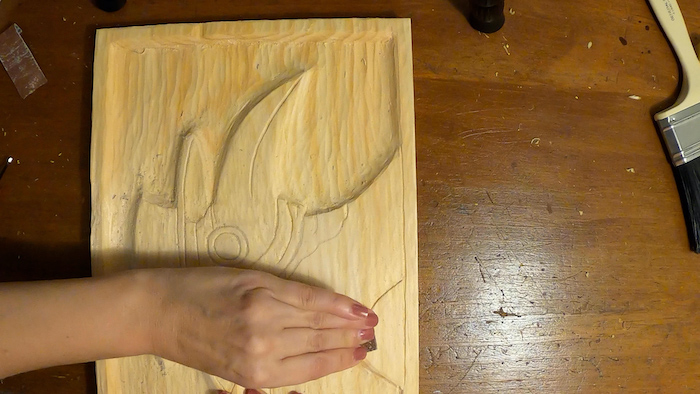
Step 4 Begin Working Detail
This is where I use my finer carving tools (Meedens) to carve the fine lines.
Step 5 Sand
Begin sanding your work.
Step 6 Stain
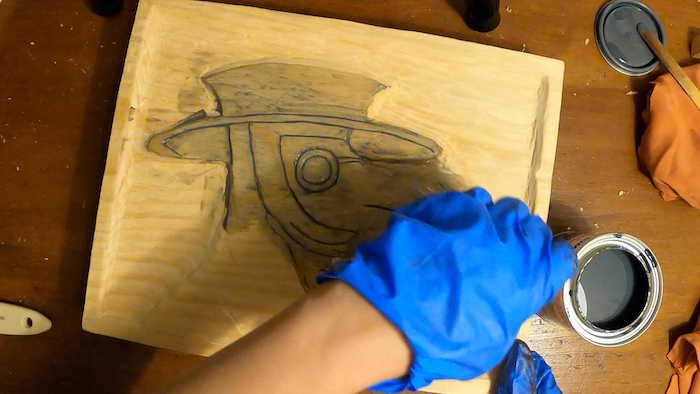
Wood stain the entire piece, front, sides, and back. I used gray wood stain for this piece.
Step 7 Paint
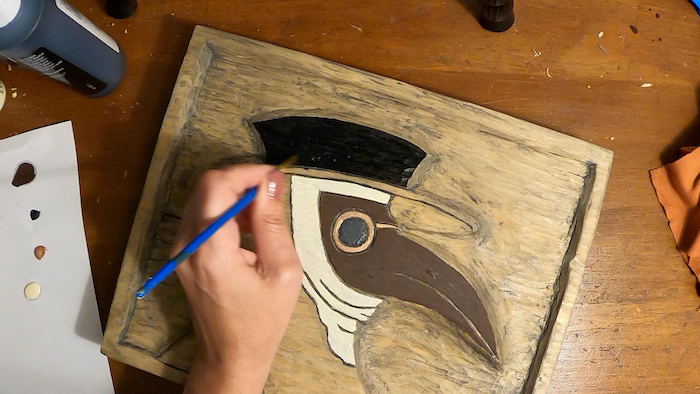
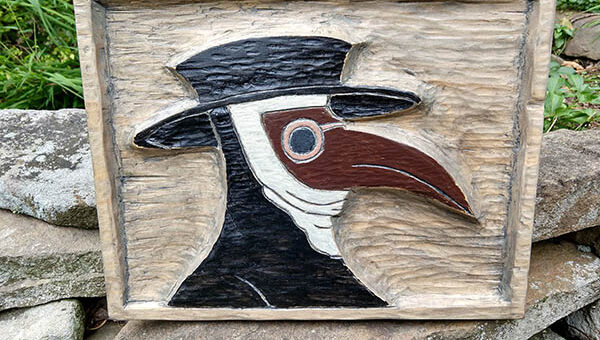
After the wood stain is completely dry, paint the plague doctor. Allow it to fully dry.
Step 8 Sand Edges
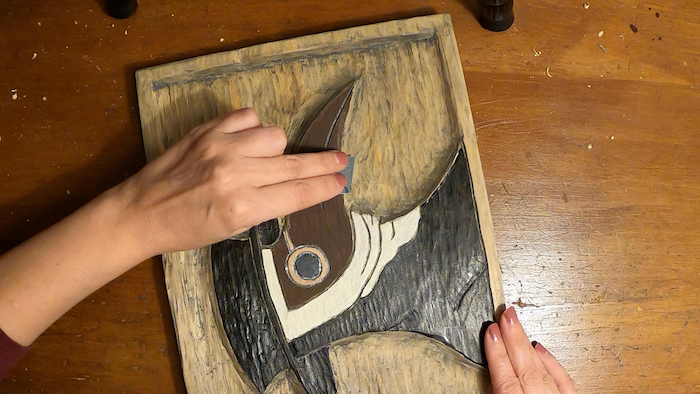
I wanted to rough the carving up a bit to give it an antique, aged look to I lightly sanded the edges of the plague doctor.
Step 9 Semi Gloss
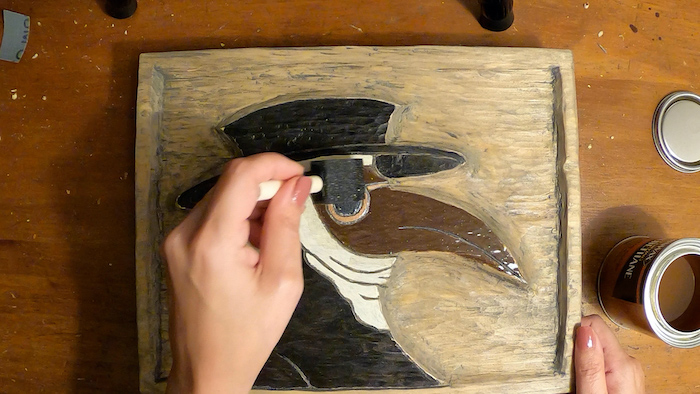
Finally, I did two coatings of semi gloss, with a 5 hour dry time between each coat.